
Oil tanks can have a lifespan of up to 25 years. However, that doesn’t mean they don’t require maintenance. Oil tank maintenance includes visual inspections to check for damage. A well-maintained tank will reduce the risk of oil spills and damage to the surrounding property. Regular maintenance on your oil tank can prevent problems with corrosion, overfill alarms, and other issues that can lead to expensive repairs or replacements.
Inspect Your Tank Regularly
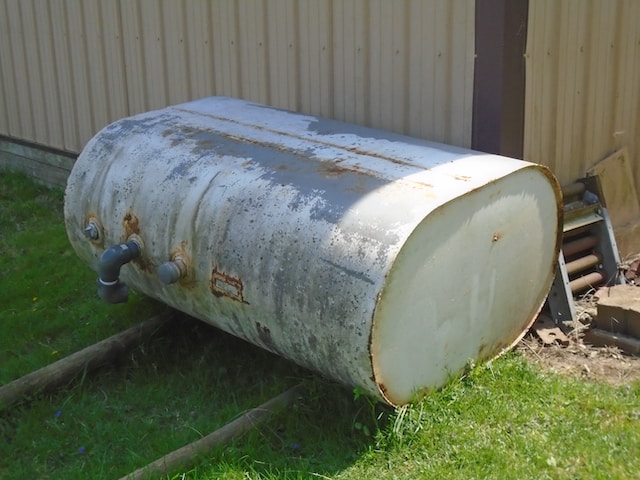
A tank outdoors will experience more wear and tear than one inside your basement. Therefore, it is essential to ensure your oil tank is appropriately inspected and cleaned regularly.
Your oil tank should be inspected by a certified field service technician at least once every year. This includes a Routine In-Service inspection like in oil tank abandonment Westchester County NY visual and external inspection, shell thickness testing, and cathodic protection surveys.
If you live in an area with harsh winter weather. It is essential to keep your tank clean and clear of snow and ice so that any leaks or problems can be spotted early on. Keeping your tank clear can also help extend its lifespan by preventing it from deteriorating due to the elements.
When the weather is mild, using a broom to sweep away any dirt or debris that may have collected on and around your tank is a good idea. This will not only improve the appearance of your tank but also prevent rust from forming and protect the coating inside your tank.
Fuel Up During the Spring Season
While spring has many benefits for athletes, like longer daylight hours and warmer weather. It is also when we need to prepare our heating oil tanks for the season ahead.
Whether your tank is in the ground or aboveground, keeping it filled during spring is essential. The reason is that empty tanks can easily collect water from condensation. This can contaminate the fuel inside the tank and cause your system to work harder.
Gasoline prices often rise in the spring as refineries switch to the summer blend, which is more environmentally friendly and expensive than winter. The switchover typically causes prices to jump by about 15 cents per gallon in the spring.
Then, other seasonal factors increase demand and drive up prices, including the start of the vacation and holiday season. Lastly, the spring is when energy companies conduct maintenance on their refineries, which reduces capacity and pushes prices up.
Check for Corrosion
While avoiding corrosion is impossible, regular inspections can help you identify and fix potential problems early. Some of the most common signs that your tank is rusting are a weeping wet spot, oil leaking around the bottom, and a smelly odor.
Both aboveground and underground tanks corrode. But the corrosion rate depends on many factors, including the soil type. How often it rains, and whether rocks or leftover construction waste are nearby.
The most common reason for home heating oil tank failure is internal corrosion. Moisture from air forms condensation inside the tank, and sludge on the bottom of the tank cause electrolysis, which causes steel pitting. An internal tank coating can help slow the process down. Other ways to prevent internal corrosion include ensuring your tank is on a single concrete slab and checking that all legs are secure and not shifting over time.
Keep Your Tank Clean
Besides annual inspections, regular tank cleaning is one of the best ways to prolong your tank’s lifespan. Over time, oil tanks accumulate sludge, clogging the oil lines and safety valves. If left unchecked, sludge can also erode the inner walls of your tank.
During tank cleaning, your technician will remove the oil and sludge from the bottom of the tank. They will then scrub the inside of the tank with cleaning rags and add a sludge treatment cleaner, such as trisodium phosphate.
Once the sludge and oil have been removed from the tank. It’s essential to ensure that no more sludge will build up within the tanks. This is done by placing a plastic bucket underneath the drain valve and removing the valve cap until all the sludge has drained. After fully drains the sludge, you can remove the bucket and replace the valve cap. Your oil tank is now ready to be filled again.