
Disposable cameras have been a popular choice for capturing memories for decades. They are convenient, easy to use, and provide a unique analog experience that digital cameras cannot match. The photos captured on disposable cameras have a distinctive look and feel many cherish. While the disposable camera is great for capturing memories, it has one major drawback: the photos are not easily accessible. They must be transferred to a digital format to view and share the images. With smartphones becoming ubiquitous, it’s easier to transfer disposable camera pictures to your phone and access them anytime, anywhere.
This article will explore the easiest way to transfer disposable camera pictures to your phone and also discuss how to print disposable camera pictures. Whether you’re a seasoned photographer or a novice, we’ve got you covered. By the end of this article, you’ll know exactly how to transfer your photos and be able to share them with loved ones in no time.
Gathering Necessary Tools
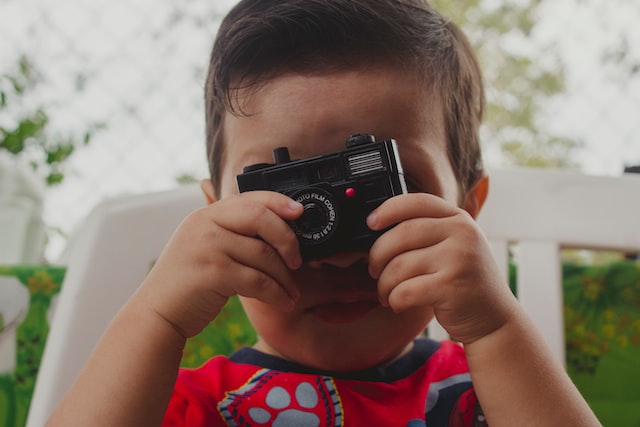
Disposable Camera
The first step in transferring your photos is gathering the disposable camera you used to capture the memories. Ensure that the film has been fully developed and that all the frames have been exposed.
Phone with Camera
You will also need a smartphone with a camera. This will be used to take photos of the film or to transfer the scanned images.
Scanner (if necessary)
You will need to gather a scanner to transfer your photos using a scanner. Many all-in-one printers come with a scanner, so check to see if you already have one available. If not, you can purchase a standalone scanner for a relatively low cost.
Setting up Your Phone
Installing Necessary Apps
Depending on the method you choose to transfer your photos, you may need to install an app on your phone. For example, if you plan to share your photos using a scanner, you may need a scanning app.
Checking Camera and Photo Storage Settings
Before transferring your photos, ensure your camera and photo storage settings are set up correctly. This will ensure that the pictures you move are saved in a format that is easy to access and share. Ensure that your phone’s camera is set to the highest resolution and that the photo storage settings automatically save new photos to your phone’s gallery.
Transferring Photos
Loading the Disposable Camera Film into the Scanner
First, you must load the film to share your photos using a scanner. This typically involves removing the film from the disposable camera and loading it into the scanner. Refer to the instructions that came with your scanner for detailed instructions on how to load the movie.
Scanning the Photos
Once the film is loaded into the scanner, you can start scanning the photos. Use the scanning software with your scanner to select the appropriate settings and begin the scanning process. Inspect each image at the highest resolution possible to ensure the best quality.
Transferring Scanned Photos to Your Phone
After you have scanned the photos, transfer them to your phone. You can connect your phone to your computer and share the images directly or use a cloud service like Google Photos or Dropbox to transfer the images wirelessly.
Using a Photo Lab
Taking the Disposable Camera to a Photo Lab
If you don’t have access to a scanner, you can take your disposable camera pictures to a photo lab. Most photo labs offer a digital conversion service that will convert your film into digital format.
Requesting Digital Copies
When you take your disposable camera pictures to the lab, request digital copies of your photos. The lab will typically provide the digital copies on a USB drive or as a download link.
Transferring Digital Photos to Your Phone
Once you have the digital photos, transfer them to your phone. Connect your phone to your computer and share the images directly, or use a cloud service like Google Photos or Dropbox to transfer the images wirelessly.
Taking Photos of the Film
Setting up Proper Lighting
Using this method, you must set up the proper lighting to transfer your photos. This means having a well-lit area with no shadows or reflections. You can use a lightbox or set up a simple DIY lightbox using a cardboard box and some white tissue paper.
Taking Clear Photos of Each Frame
Once you have set up the lighting, take clear photos of each frame on the film. Ensure that your phone’s camera is set to the highest resolution and that each image is focused.
Transferring Photos to Your Phone
After you have taken photos of each frame, transfer the photos to your phone. Connect your phone to your computer and share the images directly, or use a cloud service like Google Photos or Dropbox to transfer the images wirelessly.
Conclusion
Summary of the Easiest Way to Transfer Disposable Camera Pictures to Your Phone: In this article, we explored the easiest way to transfer disposable camera pictures to your phone. We discussed the three main options for sharing photos, including using a scanner, a photo lab, or taking pictures of the film. Regardless of your choice, the key is to transfer your photos in a way that provides the best quality and is most convenient for you.